PlayStation 5 games are big and there’s not a lot of storage on either PS5 unit. Thankfully, there’s a way to change that.
How to expand your PS5 SSD storage
Whether you buy a regular PlayStation 5 or the disc-less PlayStation 5 Digital Edition, you’re working with the same 825GB internal storage space. That may sound like plenty, but once you start getting into double figures with new-gen PlayStation 5 games, you’ll start running out of space. Thankfully, Sony has two ways to expand the storage on the PS5.
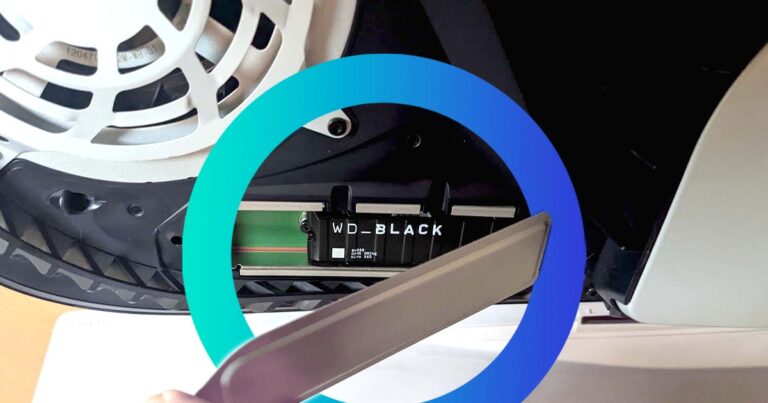
Internal and external PlayStation 5 storage expansion
There are two options for PS5 storage expansion. One is easy but limiting, and the other one is more complicated but adds greater versatility. Let’s go with the easy one first.
Like the PlayStation 4, the PlayStation 5 supports external hard drives for storage expansion. You can connect pretty much any external hard drive to boost storage, but there is a catch. External hard drives are only useful for storing PlayStation 4 games, so you can’t just plug in an external hard drive to store more PlayStation 5 games.
For new-gen games, you’ll need some tools and you’ll want to be comfortable getting inside your PlayStation 5 to access the purpose-built M.2 solid-state drive (SSD) storage expansion port.
PlayStation 5 M.2 SSD requirements
You can’t just buy any old SSD and pop it into your PlayStation 5 for a storage upgrade. There are specific requirements an M.2 SSD needs to meet before you can safely place it inside your PlayStation 5 knowing it will properly expand the internal storage.
Here are the official M.2 SSD requirements according to Sony:
- Interface: PCI-express Gen4x4 M.2 NVMe SSD (Key M)
- Storage: 250GB (minimum) to 4TB (max capacity)
- Supported sizes: 2230, 2242, 2260, 2280, 22110
- Size (including heat-dissipation mechanism): 25x11.25mm thickness (max); 30/40/60/80/110mm length
- Sequential read speed: 5500MB/s (or faster) is recommended
- Socket type: Socket 3 (Key M)
Note that Sony notes you should have the latest system software update installed before fully powering off the PlayStation 5. We also advise checking for a disc in the PlayStation 5 before fully powering off (eject if you find one). For the M.2 SSD size, Sony notes that the thickness can be up to 8mm from above the board and up to 2.45mm from below the board. The M.2 SSD you buy should have a cooling structure, like a heatsink or other heat-dissipation method, to stop the drive from overheating inside the PlayStation 5 console.
PlayStation 5 M.2 SSD installation
With a compatible M.2 SSD, your PlayStation 5 up to date with the latest system software, the disc port clear (for regular PS5 consoles), and the PlayStation 5 console fully powered off, you’re ready to get started. Disconnect all of the cables from the back of the PS5 console. You’ll need a Phillips head screwdriver (I used a 1.5mm head) and, ideally, a flathead screwdriver (otherwise a flat metal object will help in a pinch) for installation.
Sony recommends working on a flat surface (with some kind of protective covering) in a well-lit room. Optionally, grab a small torch, which I didn’t have any use for. Touch a metal-grounded object to remove any potential static electricity from your body before you get started. Sony also advises waiting a while for your PlayStation 5 to cool down before proceeding.
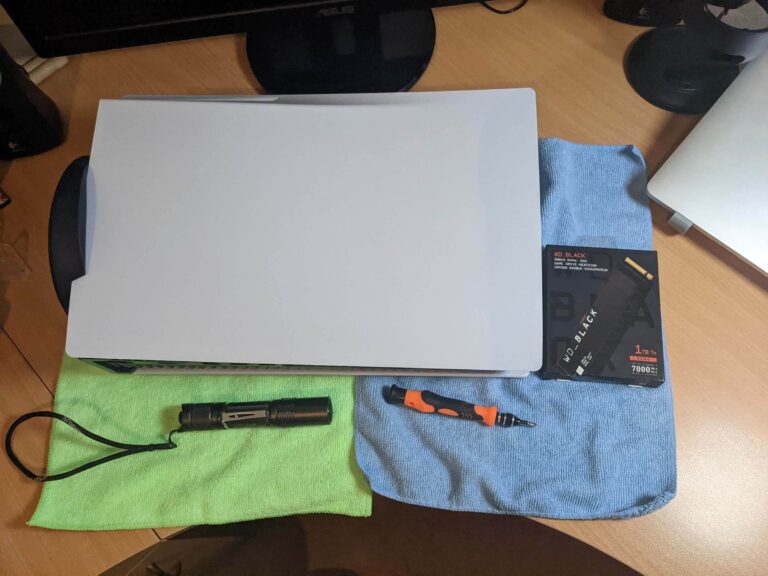
Step 1
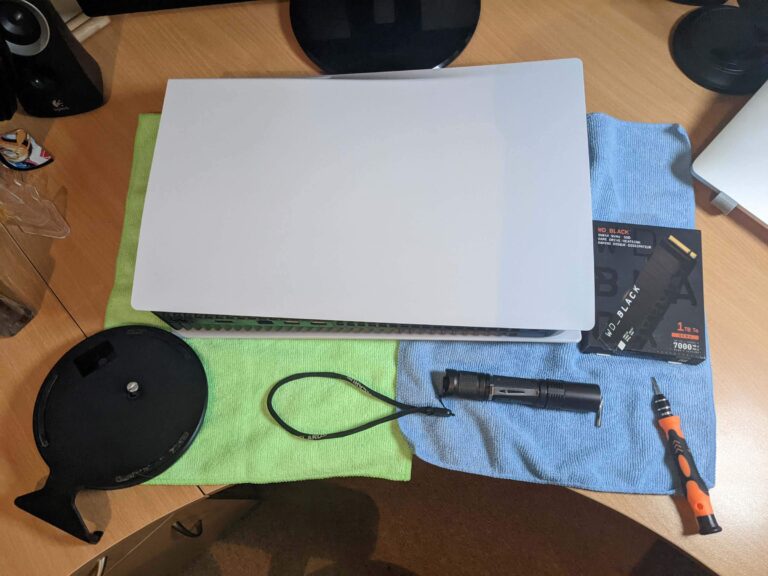
Step 2
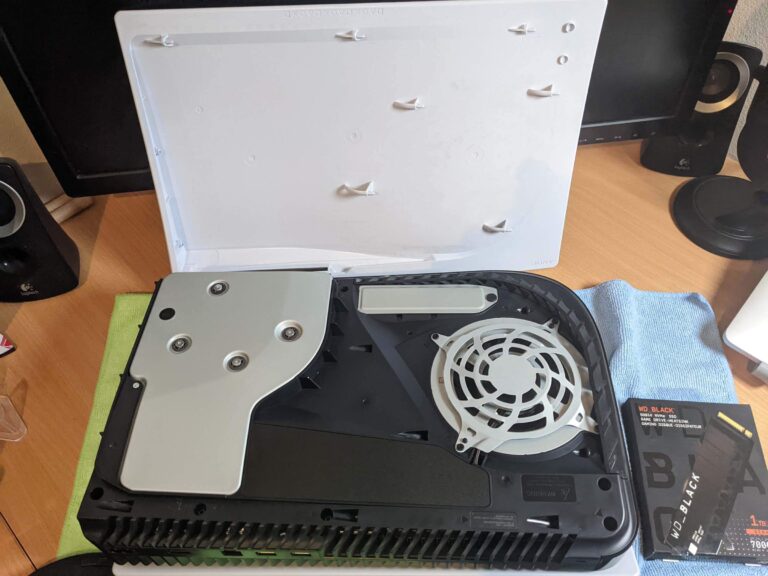
Step 3
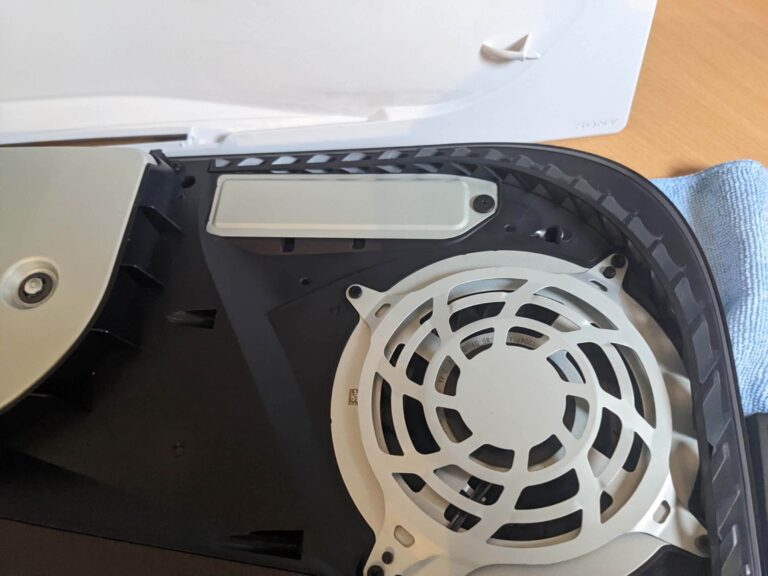
Step 4
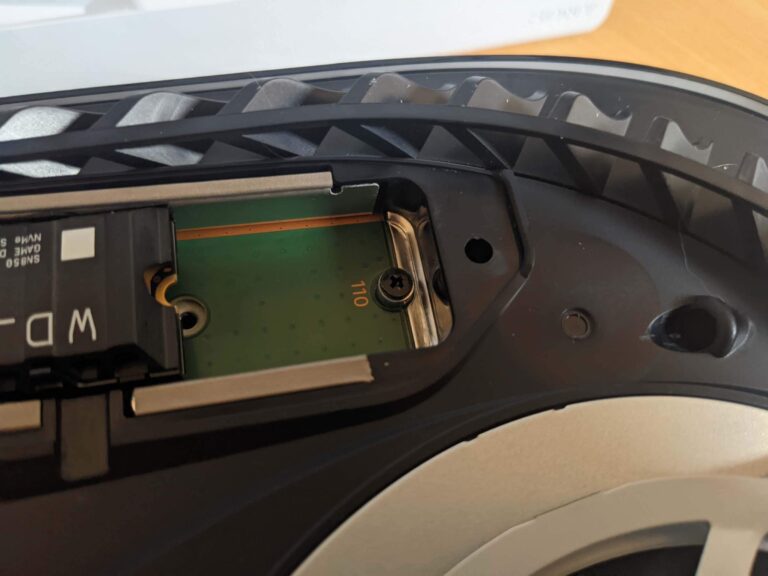
Step 5
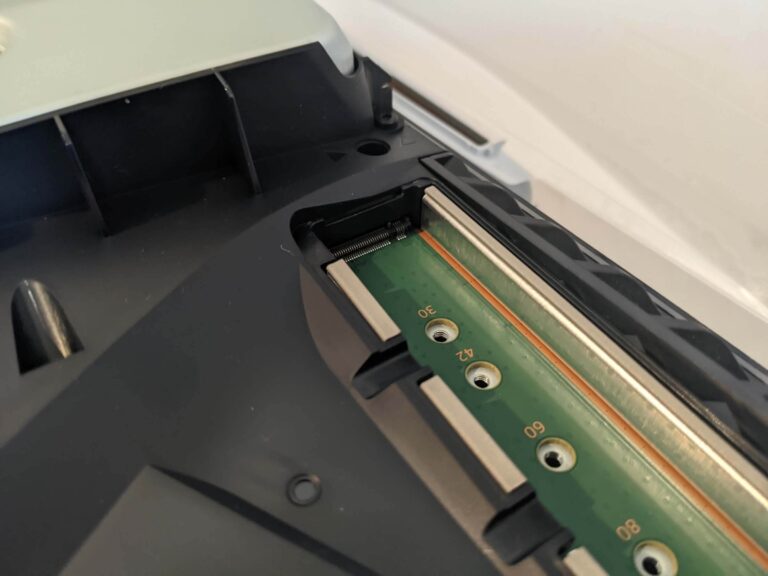
Step 6
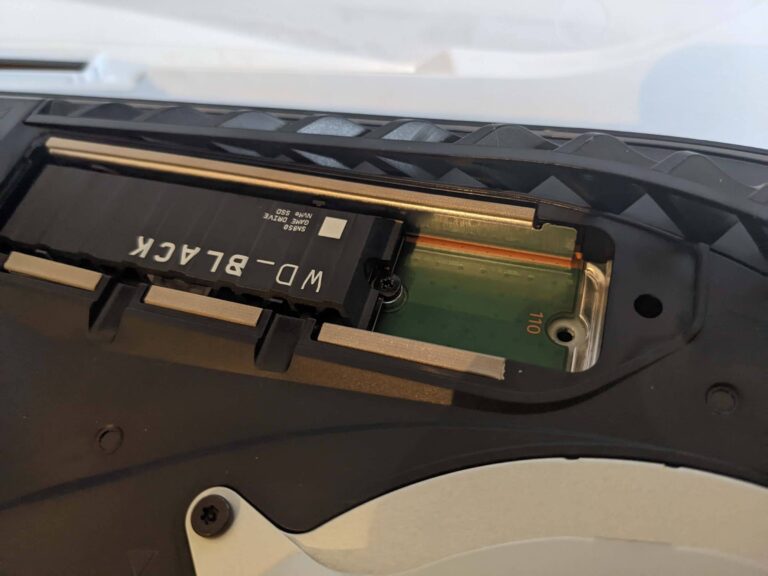
Step 7
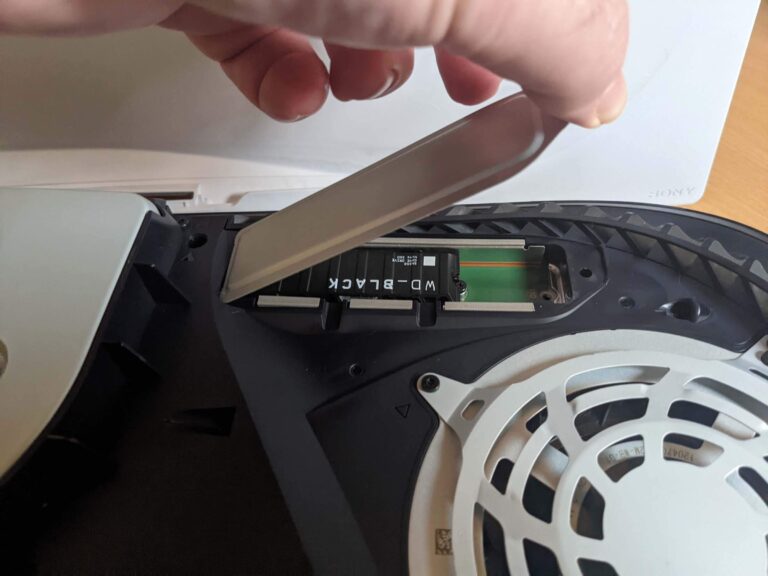
Step 8
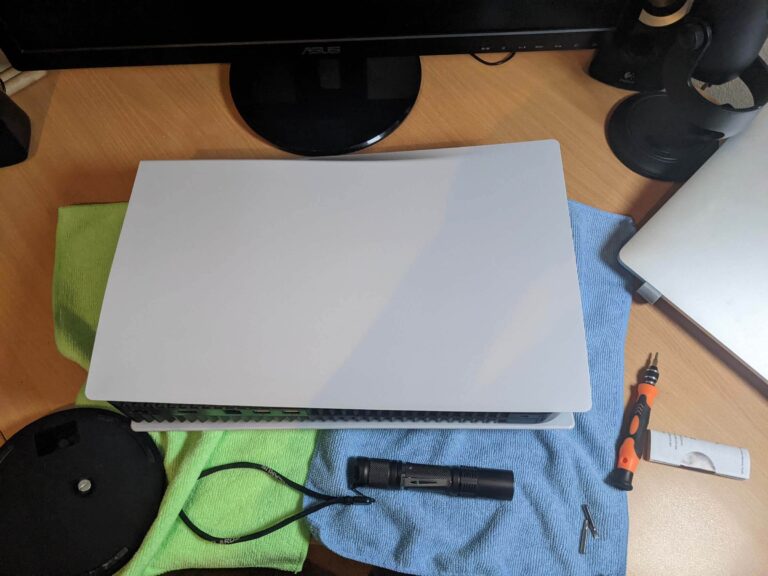
Step 9
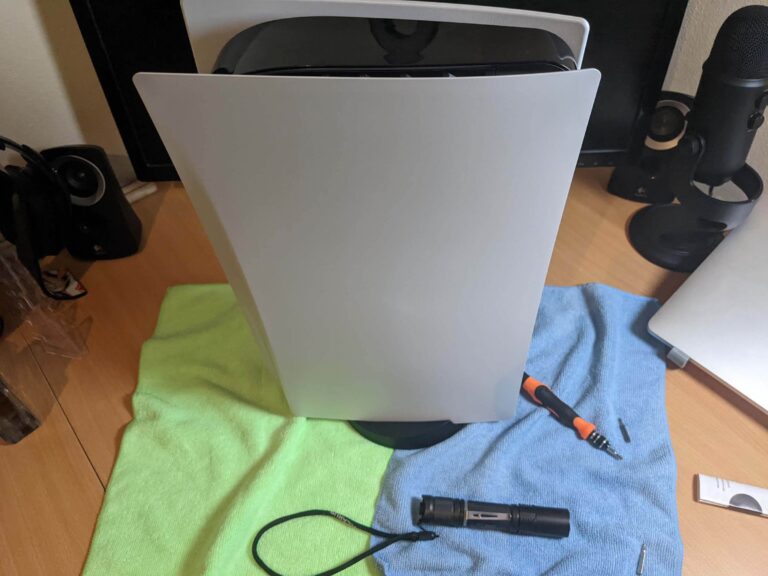
Step 10
Now connect all of the relevant cables to the back of your PlayStation 5 and power it on. You’ll receive a message that the M.2 SSD needs to be formatted. This should take a few seconds, then your PlayStation will give you an indication of the read speed of your newly installed M.2 SSD.
If you want to change where games are installed, go to ‘Settings’, ‘Storage’, then ‘Installation Location’. There’s a drop-down option for internal storage or the M.2 SSD. That’s it! Enjoy the expanded storage. If there are any issues playing new-gen games from M.2 SSD storage, Sony advises copying those particular titles over to the default internal drive
FAQs about PS5 storage
Related Articles


